Saturday, July 25, 2015

Fix Sewing Machines Institute

Fix Sewing Machines Institute

If you ever thought you might like to learn sewing machine repair, look no further.


If you imagine yourself as a professional sewing machine technician, the key to your success may be closer than you thought.

If you want to build your own business as a sewing machine technician, check out the one resource with proven track record.

 For many years, David and Jeremiah Trumble have provided thousands of  students with the knowledge and skills to become highly successful sewing machine technicians. 

Study at home materials are available through their Pro Training Series of 7 E Courses and Video Series.Five times each year,  In their comprehensive correspondence program, the include the complete Pro Training Series, Video Series, and a massive set or manufacturer's service and parts manuals and resource. 

Fix Sewing Machines Institute hosts a live professional sewing machine repair institute about five times each year in Killeen, Texas with students coming from all across the US and several foreign countries. 


The live institute lasts three days and provides comprehensive training in mechanical, computerized, and light industrial sewing machines as well as sergers and embroidery machines.  When a student completes the course, they receive a diploma certification as sewing machine technicians, and are ready to begin work as technicians for dealerships, factories, design and production companies, institutions, or  in their own business.

Below are pictures of our July, 2015 Institute.


Friday, April 3, 2015

Brother VX Repair

Repair Your Brother VX
Sewing Machine

 
The Brother VX series is a popular line of low end sewing machines. 
It may be purchased through big box stores like Walmart.
This Brother VS 820 is a bit older,
but represents the line pretty well. 
 
As with most sewing machines, the major problem is maintaining it.
If the machine sits in a closet for a year, it should be serviced prior to use.
If it is used ten hours a week, it may need service more often.
The key element is to remember that the lubricants and moving parts
are exposed to whatever is in the air: moisture, dust, sun, dirt, lint, etc.
The lubricants dry out over time and become sticky and eventually
harden into a crusty material. 
These old lubricants and all debris must be removed.
Thorough cleaning is essential.
Then re-lubricate.
 
 
Fix Sewing Machine Institute provides both a comprehensive
correspondence training program and live training institutes
that include instruction on mechanical sewing machines,
computerized sewing machines, sergers, and more.
If you are hobbyist, the training will make your hobby easier
and more fun then ever.
If you aim to become a sewing machine technician,
Fix Sewing Machines Institute offers the finest
All Brand Sewing Machine Repair School available.


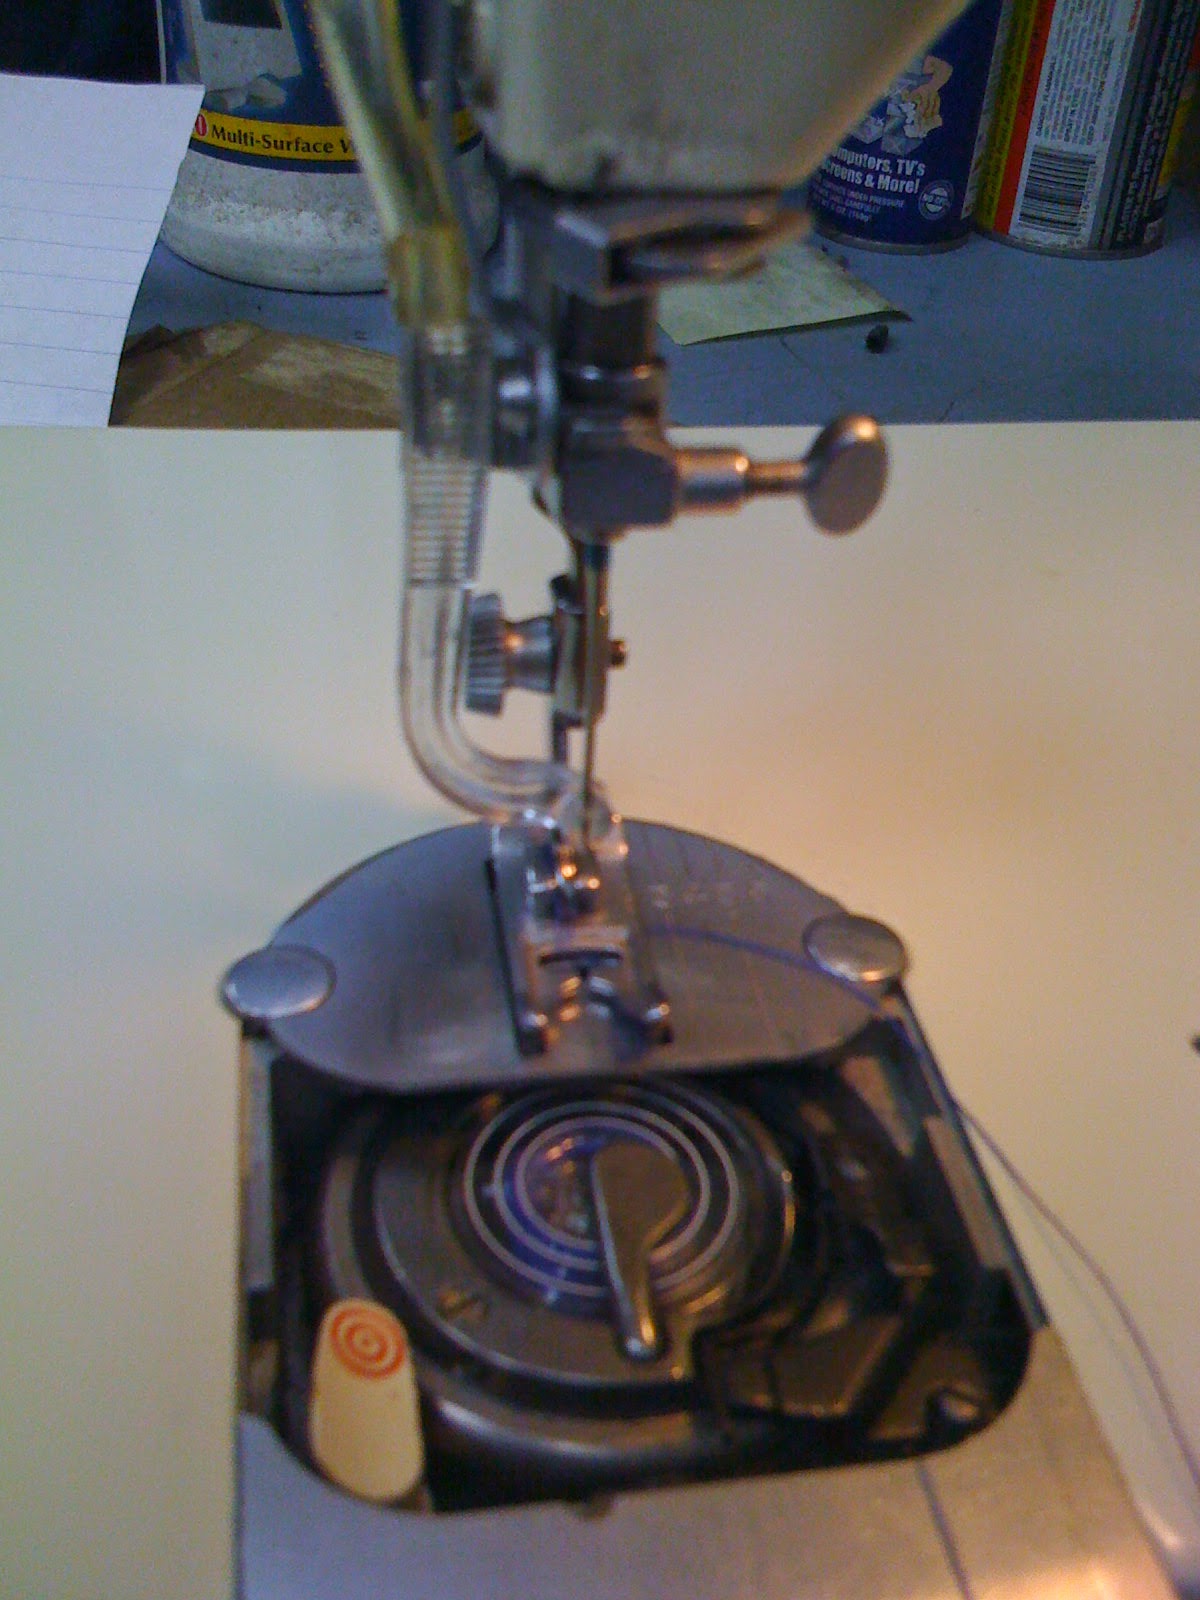
Sewing machines either use an oscillating hook assembly like this one,
or a rotary hook assembly like most top loading sewing machines.

Needle bar adjustment is always a concern, but the
adjustments are very similar from one machine to another.


Wednesday, March 25, 2015

Viking 620 Repair

The Viking  is a bit different to service. 
Instead of removing front covers to reach the main parts of the machine,
you service it from the rear.
Here you can see the rear cover removed.
On the left bottom is the drive motor.
The belt on the left control the rotation of
the upper and lower shafts. 
Across the bottom left to right are the shafts
to control the hook and feed assemblies.
At the top center you see the cam stack.

The motor is an electronically modulated AC Motor.
 

The Drive Belt is an item that required
checking when doing a service. 
If it is too tight or loose, the belt will not function properly.
 
Using the finger flex test, press against the belt.
If it flexes an eight inch or so, it is good.
If it fails to flex or appears to have slop, adjust it.
To adjust the tension on the belt adjust the tensioner
shown here. 

Cam stacks must turn freely and their trackers
must align with their appropriate grooves.
These may require adjustment due to
sticky old lubricants, misalignment, or debris


To learn more about sewing machine repair,
 

Wednesday, February 25, 2015

Singer 640 Golden Touch And Sew

The Singer 640 is one of several models in the Touch And Sew series by Singer produced during the 1970s.   One of the most interesting aspects of the model was its ability to wind the bobbin in the bobbin carrier.  As a top loading full rotary hook sewing machine, the bobbin was placed on the carrier.  At the push of a lever or button, the assembly would raise or lower.  This permitted the machine to wind the bobbin, and then reset to sew.  Unfortunately, many of these machines suffered from minor adjustment issues from time to time requiring frequent repair by a sewing machine technician.
The Singer 640 offered straight stitch and zig zag with full stitch length and stitch width control.


Note the outer silver grey colored circle.  This is the hook.  Inside the hook you will note the bobbin carrier also silver grey colored circle.  Inside the carrier you see the bobbin with two white stripes and a clamp holding it in place.   Also notice the black bracket extending from the bottom right.  This bracket has a spring on it facing the carrier.  This bracket must be properly set to permit the movement of the thread around the bobbin.  Too tight and the thread binds up.  Too lose and the thread flops around.  At the Far lower right is an eccentric used to adjust the bracket.  To remove the carrier, the black bracket must be lifted and moved to the right.

 
The front surface mounted tension assembly is held in place by a set screw under the cover.  It may be removed for service, replacement, or repair as needed.  Please note inside the tension assembly is a small metal rod about 1/25 inches long. Do not lose or forget to install this rod when servicing the tension assembly.  The presser bar lever presses against the pin or rod to open and close the tension assembly.  Always thread with presser foot in the up position relieving the pressure on the tensions.

 
Replacing the gears is pretty easy.  Always replace gears in sets.  A gear with 2 or more set screws will rest on the round portion of a shaft and may be adjusted around and along the shaft.  A gear with 1 set screw sits on the flat of the shaft and may only be adjusted back and forth along the length of the shaft.  To remove gears:  remove motor mount to the right and anything that prevents moving the shaft to the right.  Release guide set screws and move shaft to the right.  Remove gears.  Replace gears.  Reassemble paying very special attention to proper tooth alignment.  
 
The challenge of gear replacement is not removal and replacement of gears.  The challenge is resetting all affected settings on the sewing machine: feed, hook, needle bar, and over all balance.
 
Repairing older sewing machines is fun and rewarding.  To learn these special skills, check out Fix Sewing Machines Institute.  They offer a comprehensive correspondence program for sewing machine repair plus the top rated all brand sewing machine school.  For live classes see http://www.FixSewingMachines.com